The artificial intelligence (AI) boom, which started in 2022 with ChatGPT and AI models, has entered a new phase. In 2026, the main focus has shifted from chatbots to AI agents and agentic AI. While AI chatbots are still a major part of everyday user workflows, AI agents are autonomous systems that not only respond to questions but can also plan, use tools, and complete multi-step tasks on your behalf.
According to Mistral AI, AI agents are autonomous systems powered by large language models (LLMs) that, when given high-level instructions, can plan, use tools, perform processing steps, and take actions to achieve specific goals. They use advanced language processing (NLP) to understand and execute complex tasks and can even collaborate with other agents to achieve more sophisticated outcomes.
Generic chatbots rarely fit individual workflows. Mistral AI, the French AI company, lets anyone; a developer or non-technical professional build custom AI agents tailored to their exact tasks. In this step-by-step guide, we will cover how you can create an AI agent in Vibe (formerly Le Chat) without coding.
Mistral Vibe: An advanced AI chat and coding agent designed to automate complex workflows and handle long-horizon tasks across your existing tools.
Quick answer (TL;DR)
To build a custom AI agent with Mistral AI, you just need to sign in to Vibe (chat.mistral.ai), open the Chat tab, click Agents → Create Agent, write clear instructions, attach tools and knowledge, and test it in the preview panel; no code required.
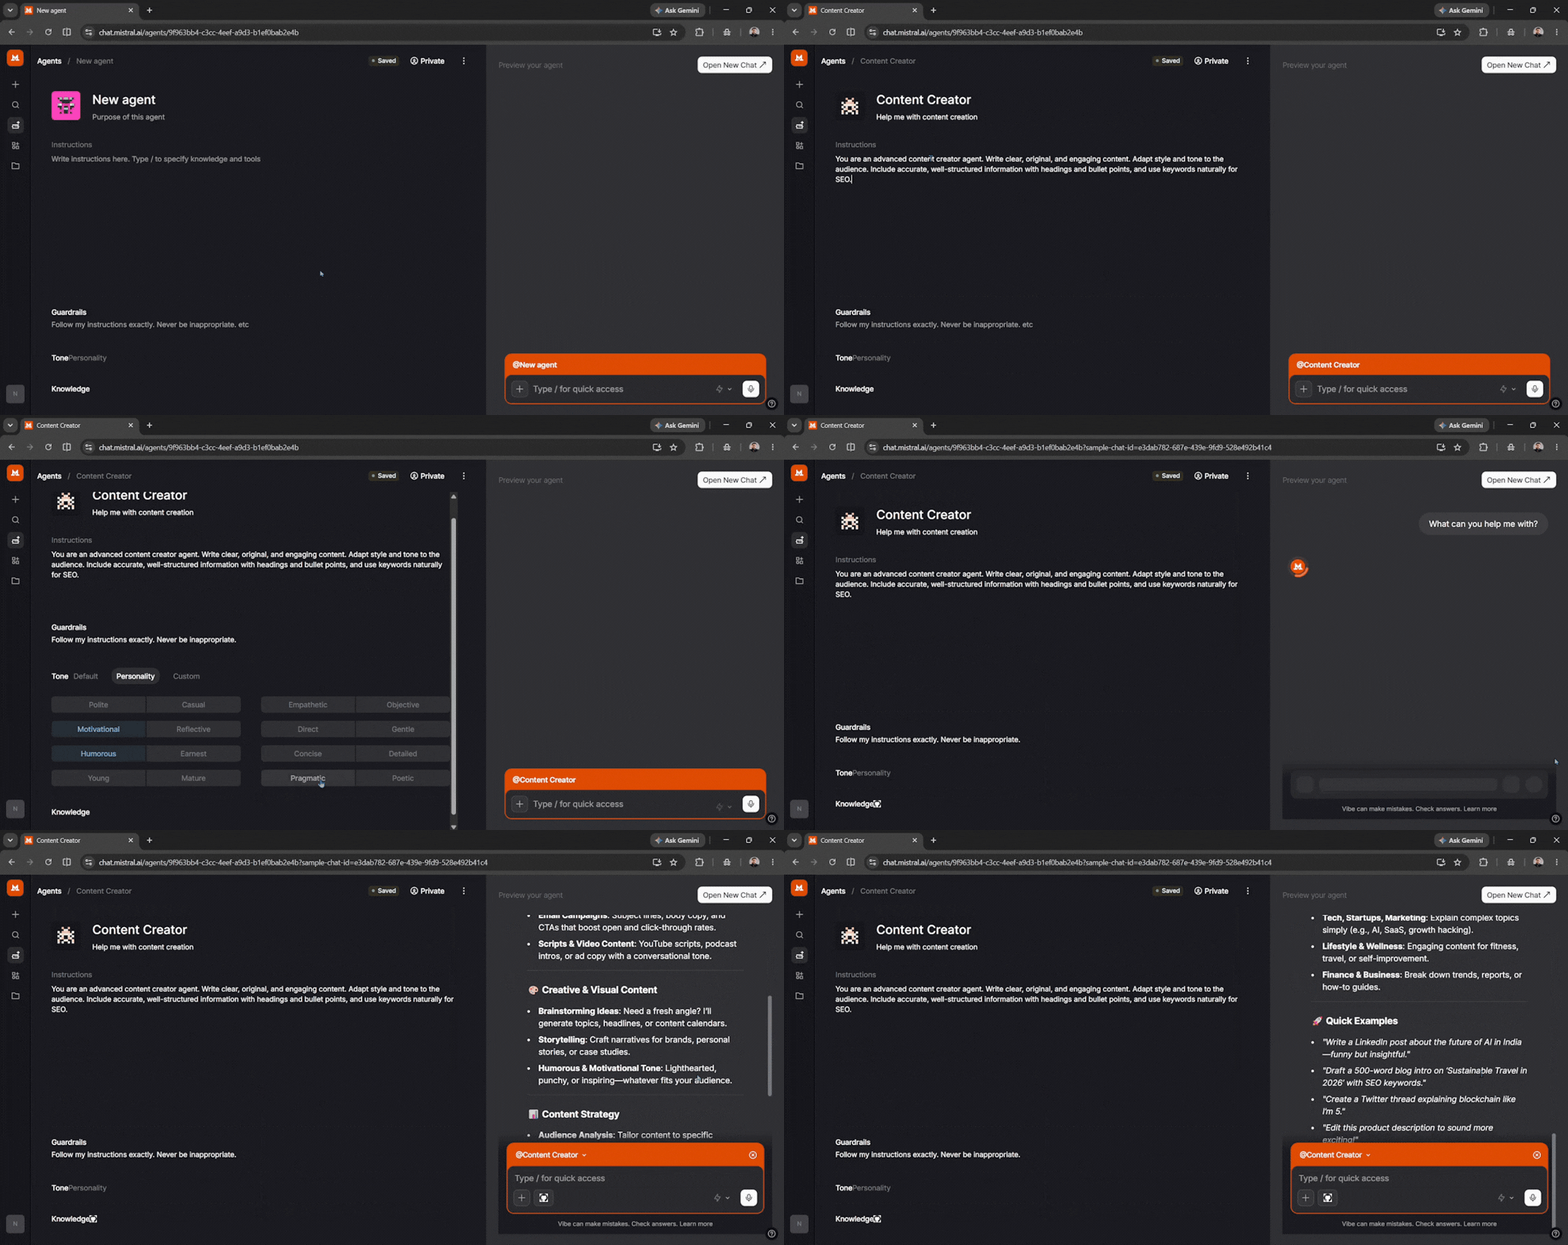
Build a no-code AI agent in Vibe (beginners)
This is the fastest way to build a custom AI agent to automate everyday work; you don't need an API key or coding skills. Agents are available on all Vibe plans, including free accounts.
Step 1: Sign in to Vibe
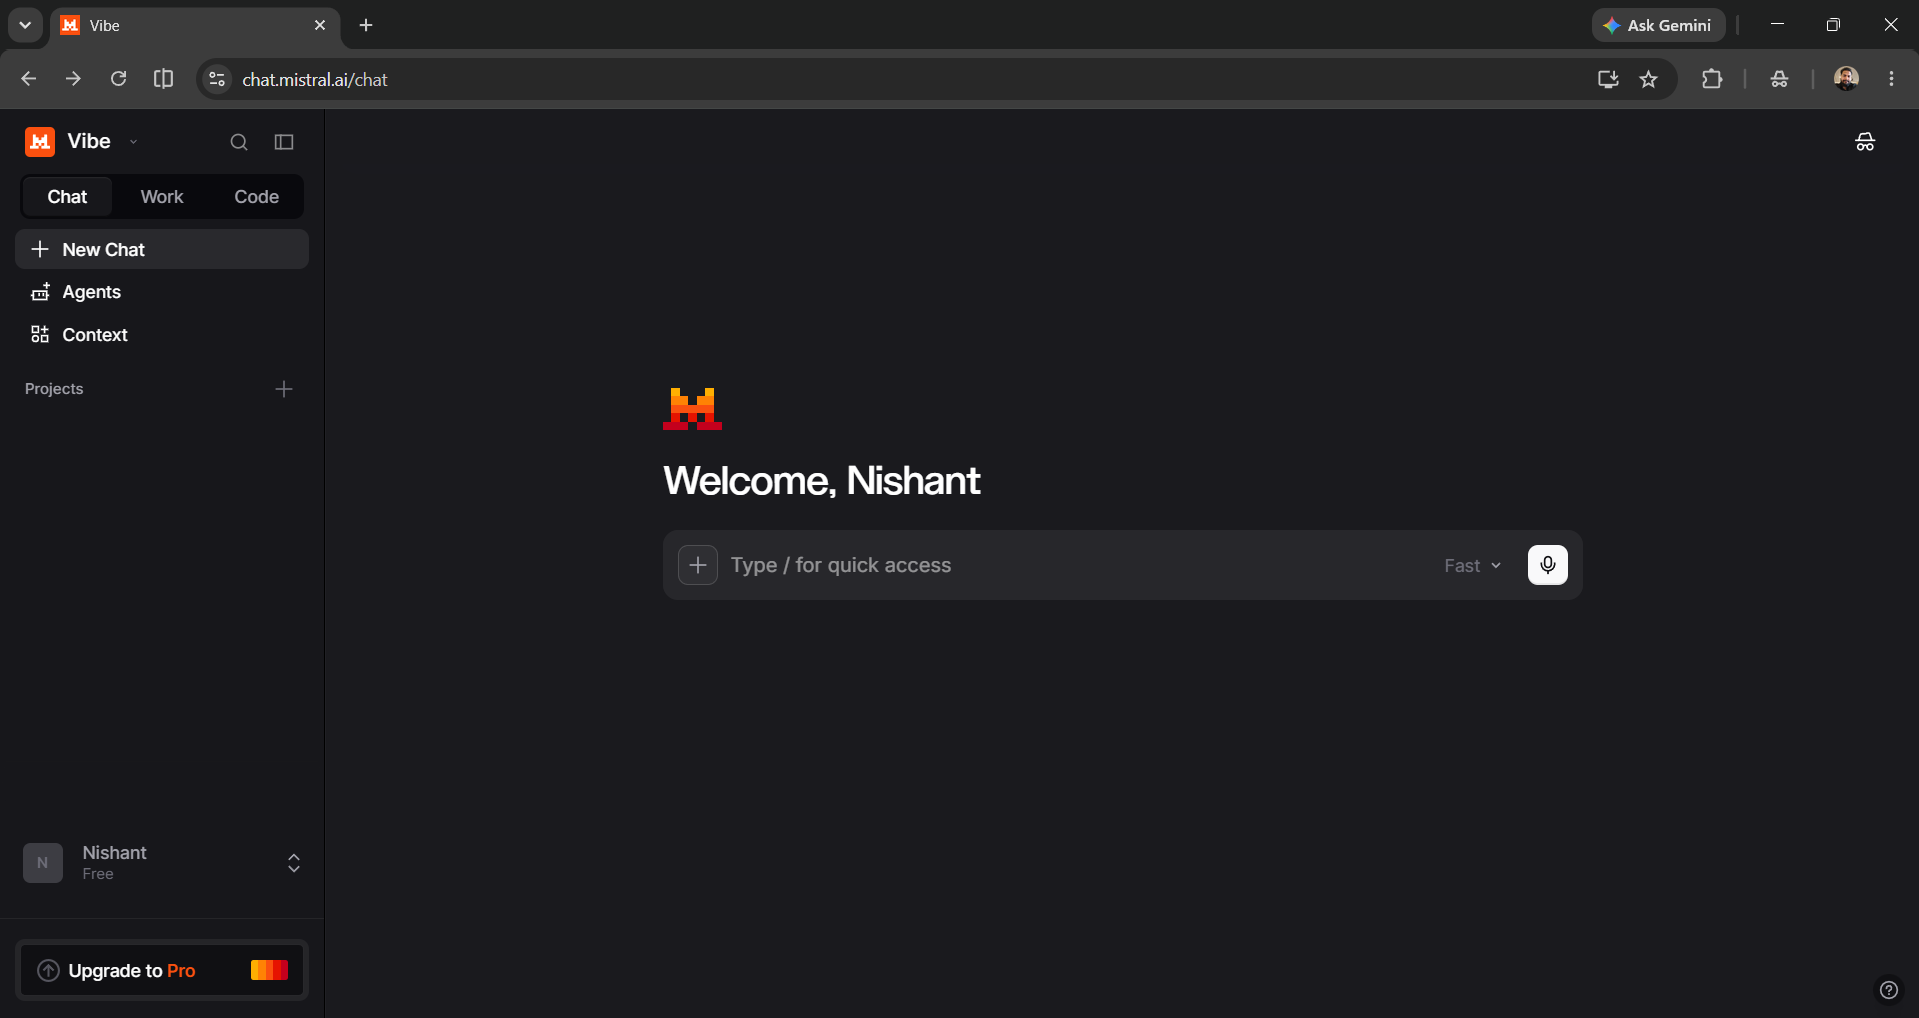
Go to chat.mistral.ai and create an account or sign in. Vibe is Mistral's AI assistant and agent for long-horizon work, organized into three tabs: Chat, Work, and Code. Custom agents live in the Chat tab.
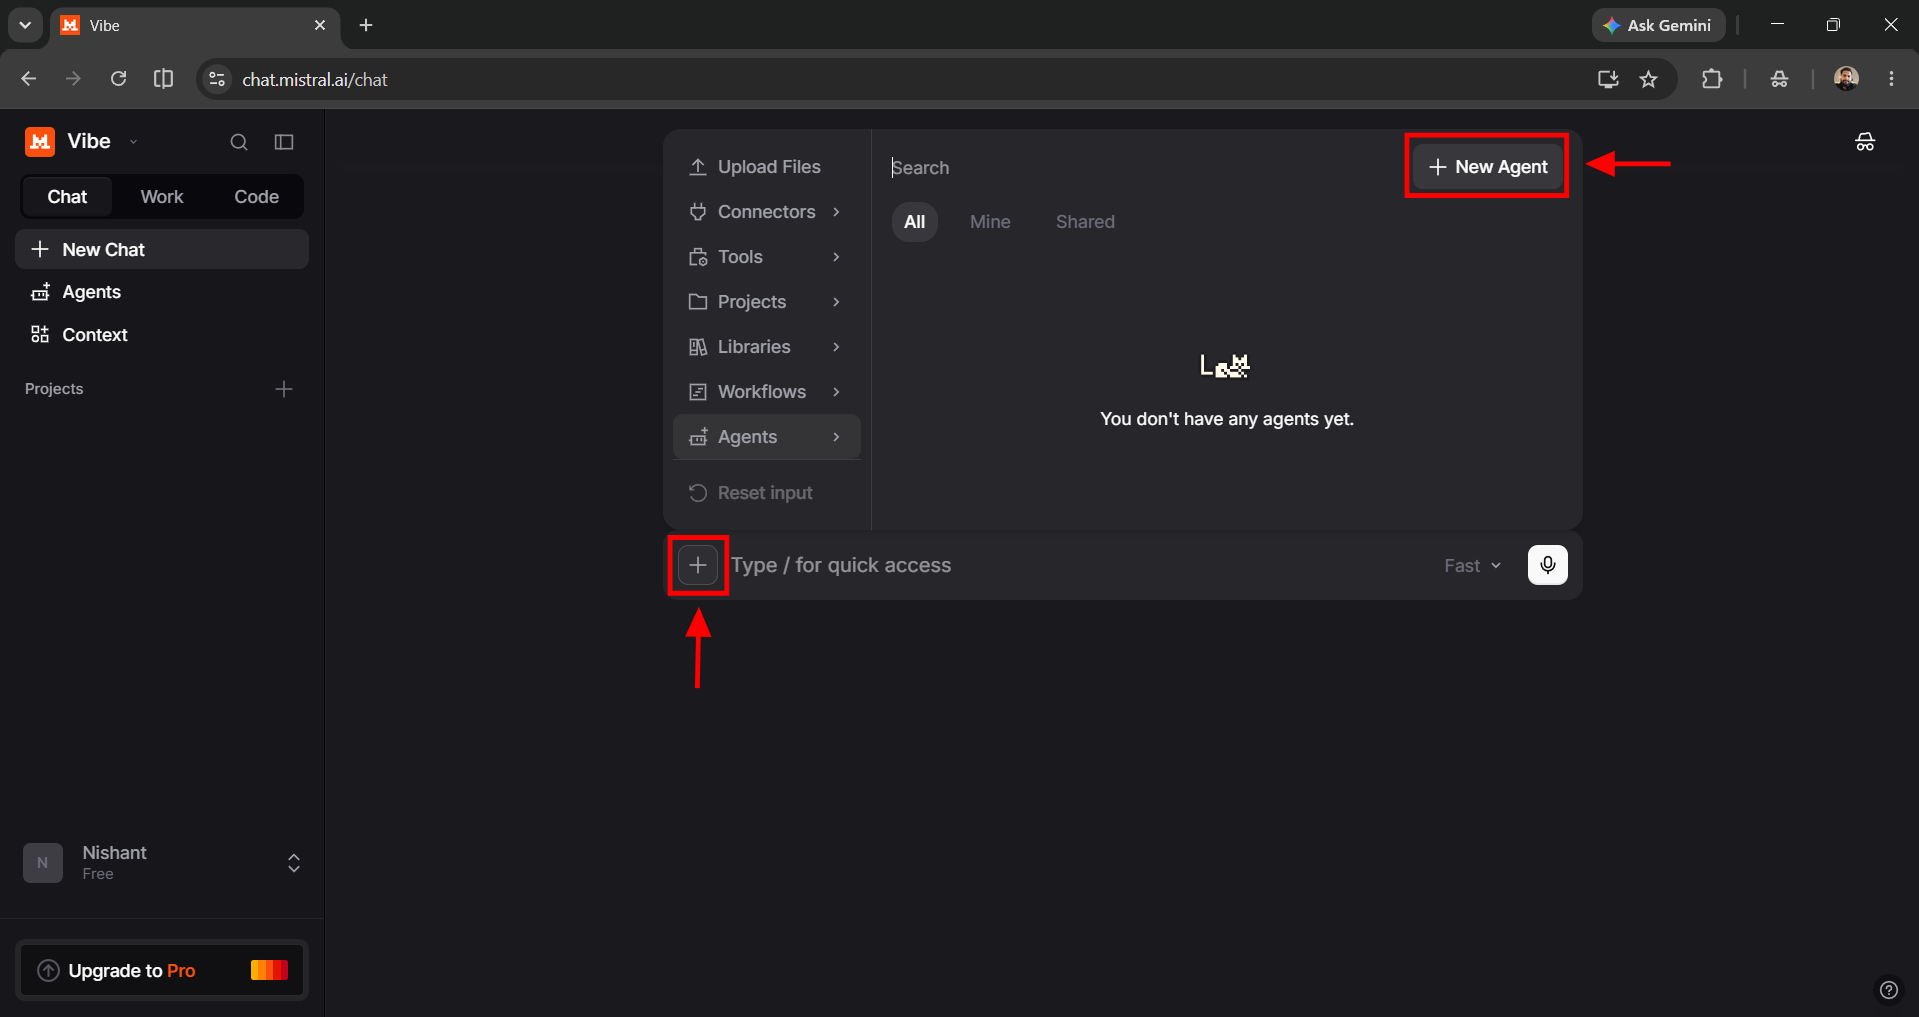
Step 2: Create a new agent
- Select the Chat tab in the sidebar.
- Click on the + icon in the chat bar and then Agents.
- Click New Agent to start from scratch.
Step 3: Configure your agent
This is the fun part. Now you get to shape the agent to your exact needs. Every agent starts with four fields:
- Name: A clear, descriptive name your team can find at a glance, e.g., "Customer Support Triage" or "SEO Content Writer".
- Description: A short purpose of the agent.
- Avatar: Pick a custom one giving your agent an identity.
- Instructions: Detailed guidance defining the agent's role, scope, and output format.
- Guardrails: Add the safety nets that govern how autonomous systems access data, execute tools, and make decisions.
- Tone: You can choose how the AI agent responds to you.
- Knowledge: You can select the AI agent's tools/capabilities like Code interpretation, image generation, canavas and web search, and connect external apps like Google Drive, GitHub, or Notion using Connectors. You can upload documents via the library option.
Example instructions: "You are an advanced content creator agent. Write clear, original, and engaging content. Adapt style and tone to the audience. Include accurate, well-structured information with headings and bullet points, and use keywords naturally for SEO."
Step 4: Test in the preview panel
You can use the preview panel on the right side of the screen to chat with your agent as you build it. The best way to build an AI agent is to iterate in small steps like changing one instruction, testing, and repeating. This tight feedback loop is the secret to a reliable agent.
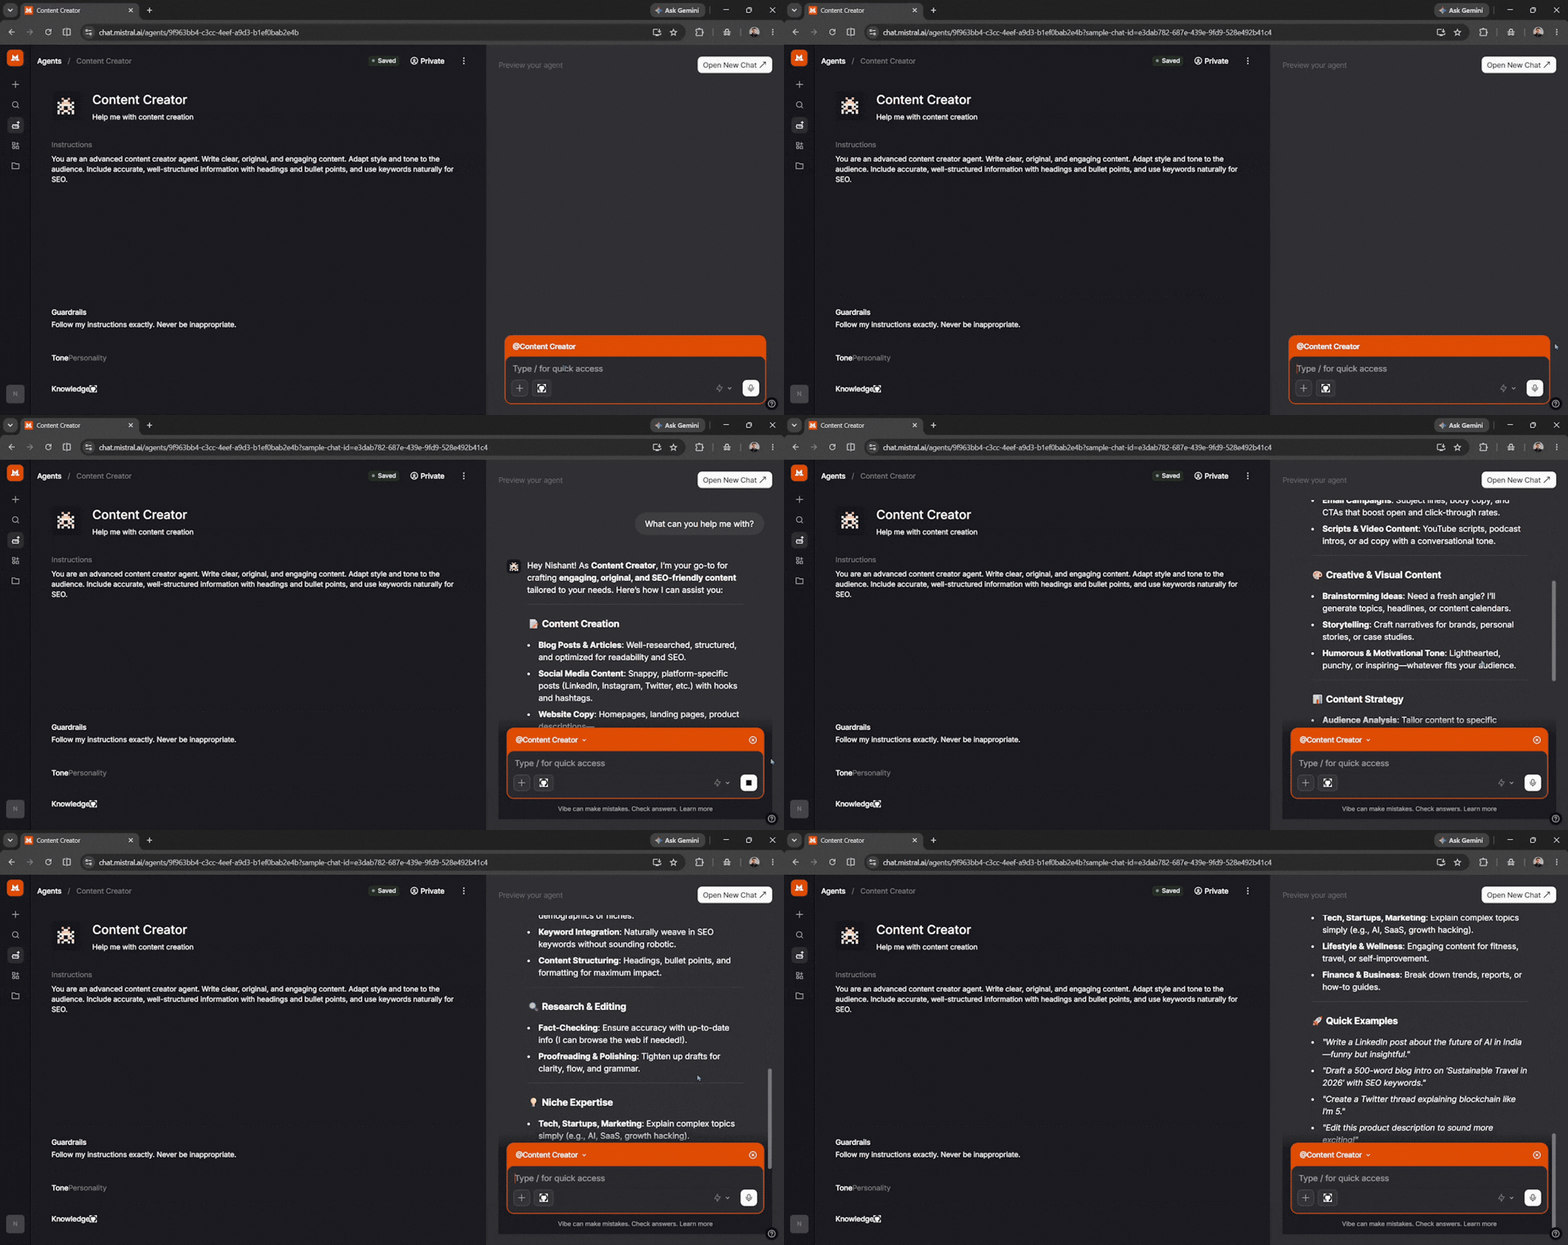
Step 5: Use and share your custom AI agent
- In the Chat tab, click + and select Agents, or simply type / in the message box.
- Search for your agent; its name appears at the top of the chat box.
- Send your message. The agent responds according to its configuration. Only one agent can be active per conversation.
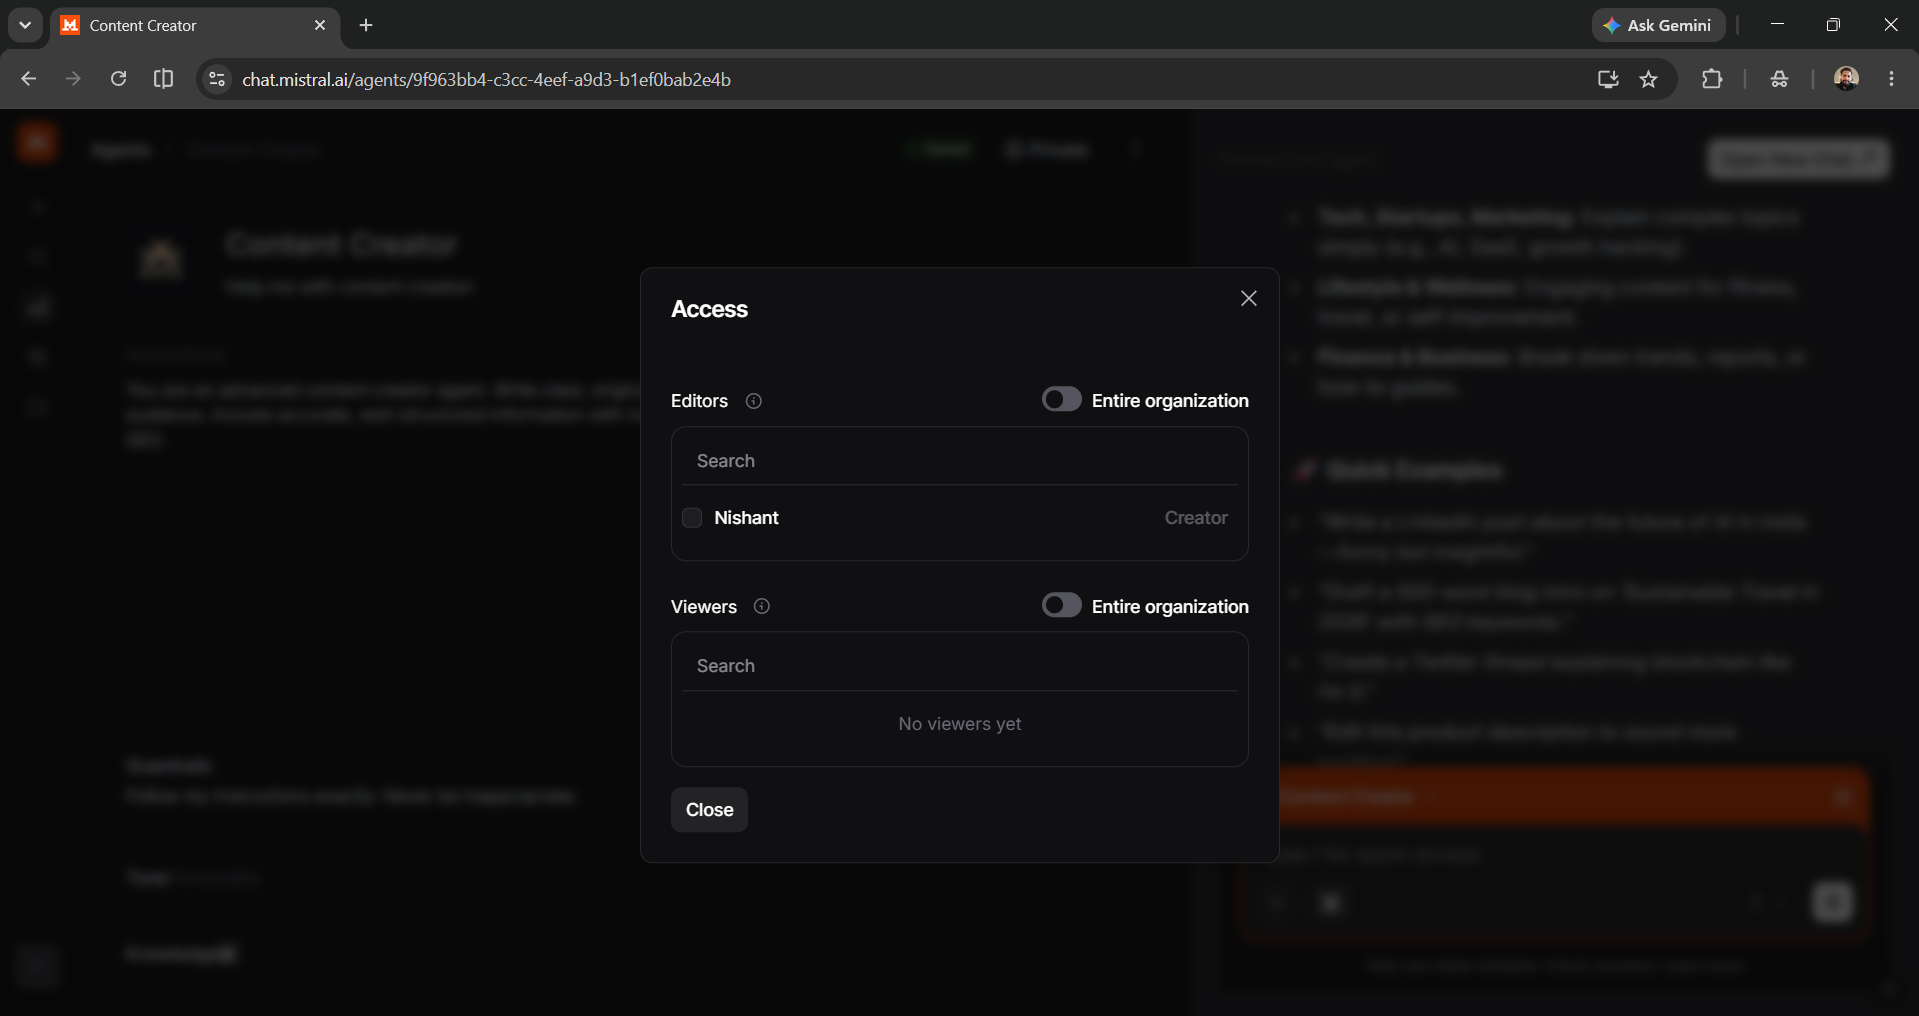
New agents are private by default. In the customize option, you share it with specific people (as Collaborator or Viewer) or with your entire organization. It is ideal for team-wide automation, such as a technical FAQ bot or a brand-voice editor.
Best practices for writing agent instructions
- Define the role clearly
- Specify the output format and include a short example if the format matters.
- Set explicit boundaries in the guardrails
- Ground it in your knowledge by attaching Libraries and Connectors
- Change one thing, test in the preview panel, repeat
In Conclusion:
Anyone can now build a custom AI agent without coding to automate their workflows. You can do so in a few simple steps: go to Mistral Vibe Chat → Agents → Create Agent → Use the agent. It is available to all plans, including free accounts. Coding is only needed for API-based agents in Mistral Studio.
AI agents are very different from AI chatbots. While an AI chatbot can answer your questions, AI agents can work toward a goal. AI agents can plan and use tools(web search, code execution, your APIs) and keep persistent memory. Mistral has made it super simple for anyone to create a custom AI agent for entire workflow automation.
💡 For Partnership/Promotion on AI Tools Club, please check out our partnership page.